Other materials don’t have the same look, feel, and structural integrity of wood furniture. Our furniture at home is goes through a lot of wear and tear. Legs get unstable, and surfaces get dented, dinged, and scratched as a result of everyday use in any home. Thankfully, the majority of damage is reversible with a little knowledge. However, you don’t have to be a carpenter to make long-lasting, cost-effective repairs. In fact, with a little knowledge from this post, you will be on your way to repairing wood furniture.
Additionally, if you buy furniture secondhand or want to upgrade an old family heirloom, you must perform any repairs before refinishing. Repairing or removing old veneers, repairing broken corners, tightening loose joints, and replacing old hardware holes are just a few examples. It’s critical to make repairs before painting if you want a clean, professional, and durable finish.
Of course, you might have broken wood furniture in your property that has to be repaired. So, get it out of the closet or shed because I’m going to teach you how to repair it in no time.
6 Methods for Repairing Wood Furniture
Whether you own a set of stylish wooden dining chairs, a vintage kitchen table or a retro wooden workstation. Cracks in wood furniture, especially older furniture, are frequently the result of failed glue seams. Cleaning out loose fibers with old glue, assembling the parts, and gluing them back together becomes the process of repairing this wood furniture.
There are a few cracks in wooden furniture that can be repaired right away; that being said, some need to be restored by a specialist, particularly museum-quality wood furniture that requires restoration rather than repair.
And if you’re wondering how to make the strongest glue, read this resin expert ca glue guide.
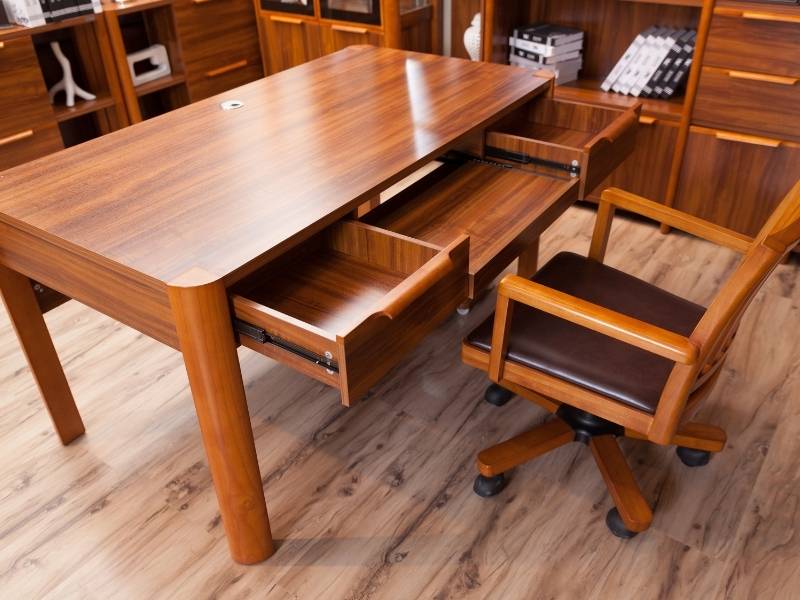
A desk was the first big piece of furniture I created. I’m not sure how it happened, but I ended up with a very large dent that needed to be filled. First, I bought some wood filler from the supermarket because I was a complete novice. Then, I filled that void, let it dry, and then sanded it down to a nice finish. Of course, I figured it would blend well because the label stated it was stainable. But no. It was not stainable! So, read the tips below to ensure you don’t find yourself wasting time and money.
1. Glue and sawdust.
Do you have a sander? Open the dust collector and empty some of the contents into a container. Mix up a generous amount of glue – about 1:1 (I use this particular glue, and it is freaking the bomb). This handmade filler should get rather sticky and thick. Also remember, the finer the better.
I always attempt to use wood that matches the color tones of the project. This method can also be used with epoxy and sawdust. However, keep in mind that adhesives do not absorb stain, so be careful to properly remove any excess.
2. Joint compound, also known as mud.
Because the joint compound is very inexpensive, it’s a great solution and one of my go-to tricks. This is best used as a light skim coat to fill in spots that aren’t too big or have already been filled. For example, I use it to fill pocket holes. I sealed these pores with a glue and sawdust combination, then finished with a light skimming of the joint compound once it dries. Because these pocket holes are visible, I wanted them to be hidden.
I’ve also used this approach to join two pieces of wood that I want to be practically seamless, as in the case of drawer fronts. Because it is highly simple and easy to sand, the joint compound is perfect for finishing. I used it to complete the MDF on our new fireplace front, and it worked beautifully.
3. Bondo filler and activator.
If you use Bondo, then use a respirator mask, because this is a potent solution with an equally potent odor. Bondo is commonly used in vehicle repairs, so you can expect it to last. It sands as smoothly as a joint compound and can fill greater areas than mud. Bondo is made up of two parts: filler and activator. Fill the mixture as per the procedures in whatever amount you need.
4. Hole repair.
Do you like the aesthetic of salvaged wood or pallets but are put off by the old, unsightly nail holes? Well, using this restoration method, you can kick them out! It’s preferable to use wood instead of glue to cover the holes so that the wood stain looks even and natural. Simply insert a skewer, toothpick, or even a caramel apple stick that has been sharpened. You’ll be good to go once you’ve sanded it down to a flush finish.
5. Removing watermarks.
Is a nagging watermark interfering with your refinishing or repainting efforts? With a can of spray shellac, you can get rid of that pesky stain! A coat of shellac will seal the mark and prevent bleeding through, allowing you to paint without interruption.
6. How to keep your wooden furniture safe.
Some waxes and varnishes on the market help keep the wood looking excellent while at the same time protecting it. Water, heat, and sun are the principal enemies of wood. An artificial barrier can be used as an outdoor barrier. Place indoor wooden furniture away from direct sunlight and windows, as heat will lead the wood to discolor, shrink, and compress. These methods will prevent your wooden furniture from drying out too soon, which could cause ugly cracks.
In conclusion.
I love the benefits of repairing wood furniture. So, keep your wooden furniture safe by ensuring that they are well-maintained and that they are restored as needed. If you have any questions or suggestions, we always love to hear from you in the comments below. Also below are links that will take you to more fantastic articles about ALL things DESIGN for your home or business.
Images Courtesy of Canva.
Other Posts You Might Enjoy:
12 Unique Ways to Bring Reclaimed Wood into Your Home
Top Tips for Protecting Your Wooden Furniture
Carpet, Tiles, and Hardwood: Which Flooring is Right For You?


