
What’s A Decoupage?
As a designer who has added blogging to my resume, I learn something new every day. Thanks to our latest submission by one of our favorite DIYers, Julia Reilly, I have learned what a decoupage medium is in the crafting world.
Decoupage is the art of decorating an object by gluing colored paper cutouts onto it, in combination with special paint effects and other decorative embellishments.
What is Mod Podge?
Mod Podge is a product that is an all-in-one glue, sealer, and finisher used to attach paper and fabrics to various surfaces. Mod Podge has become known as the go-to product for decoupage medium crafters.
Presenting – Julia
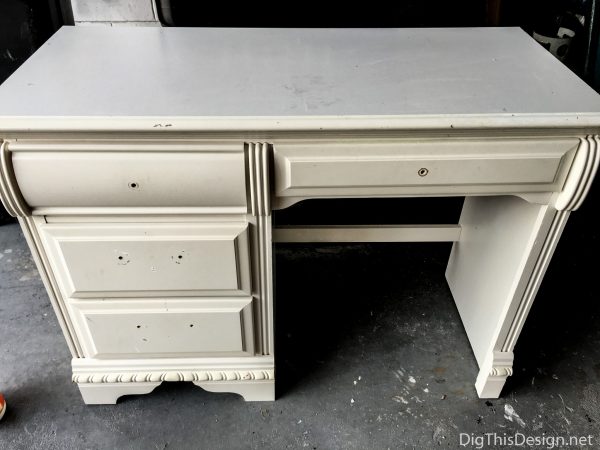
I love to remake old outdated desks into beautiful and functional room additions.
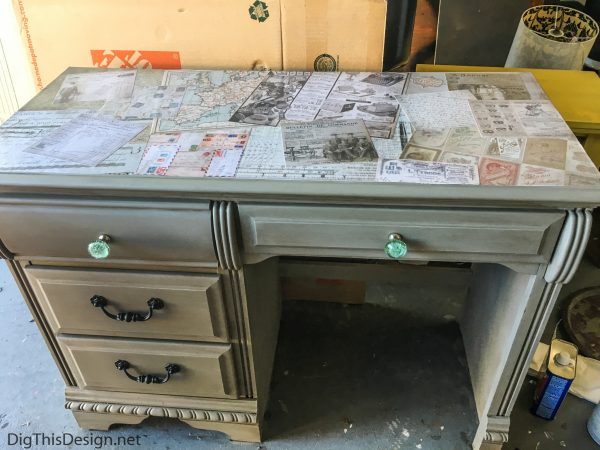
I found this plain white desk at a furniture resale shop for $30.00 and knew this would make a great decoupage project.
STEP 1
The desk was in need of a new coat of something as its existing finish was worn and dingy looking. I decided on applying two coats of Annie Sloan Chalk Paint in French Linen.
STEP 2
I let the chalk paint dry completely and then applied Ralph Lauren Glaze in Tobacco by wiping it on and wiping it off, to give it an aged appearance.
STEP 3
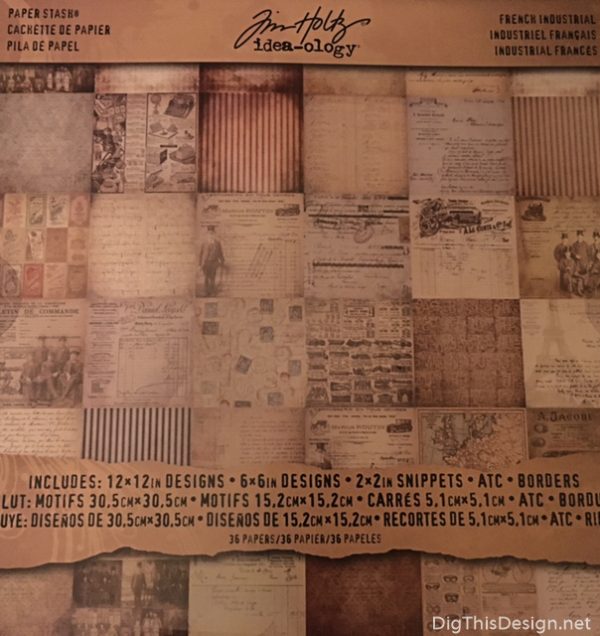
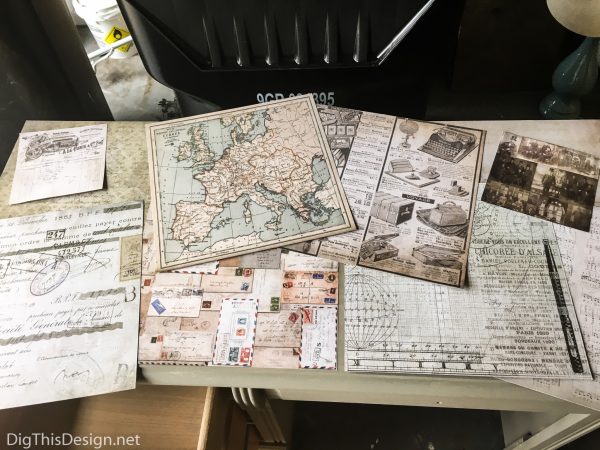
Now I was ready to start the decoupage mod podge desktop. I chose to use scrapbook paper by Jim Holtz, idea-ology pack. I bought this at Michaels craft store and picked this design because it had a french theme to it. It consisted of images of old receipts, advertisements, letters, maps, etc. and presented the character I was trying to achieve. I began by laying the papers in a configuration that I found pleasing, on the surface of the desk.
STEP 4
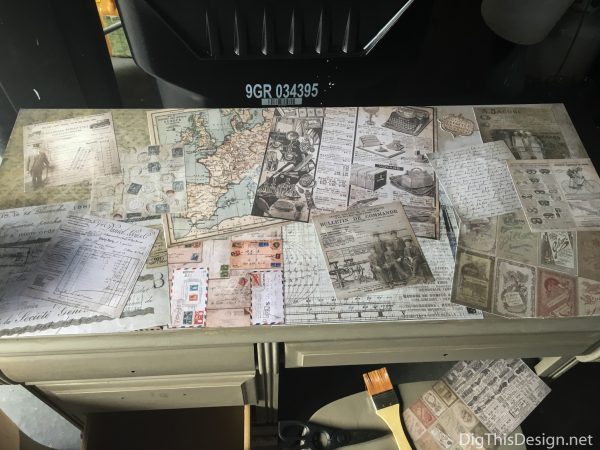
I overlapped the papers to create depth and interest and then trimmed the paper to fit the desktop.
STEP 5
I took a picture at this point to remember how I positioned them on the desktop.
STEP 6
I removed them one by one to add my decoupage medium Mod Podge. I find the best way to apply Mod Podge is to apply it directly to the desk surface, lay the paper back over it and smooth out any bubbles with a hard card. I used an old rewards card from a grocery store. It is necessary to let it dry before adding another coat of Mod Podge over it to eliminate the possibility of bubbling. Repeat adding layers if Mod Podge over the glued down papers until the surface is hard. It takes approximately 10 layers to achieve the proper strength.
STEP 7
I spray painted the original hardware with Rust-Oleum Oil Rubbed Bronze and added a couple of pretty green glass knobs to add a little bling to the design.
Other posts you may enjoy:
DIY – HOW TO MAK AN OLD CHAIR INTO A STATEMENT PIECE
DIY HOLIDAY SWITCH PLATE TO ADD THE FINISHING TOUCH TO ANY ROOM
QUICK DIY GUID: HOW TO LAY-OUT A KITCHEN PLAN


