DIY Classic Chair Refurbish

Presenting Julia Reilly, our DIY expert who loves to turn old into shiny and WOW! She will be taking a thrifted classic-style chair and revamping it with fresh, fun colors using multiple paint techniques. Take it away Julia!

Steps for a Refurbished Chair Design
I find Craigslist is a great source when shopping for old furniture. When I am searching for the perfect refurbished chair project, I look for one that has interesting lines and this one fits the bill and my budget at a cost of $40.00. The soon-to-be refurbished chair had an interesting back and I could see a real feminine quality about it, so I decided this chair could end up as a fun statement piece.
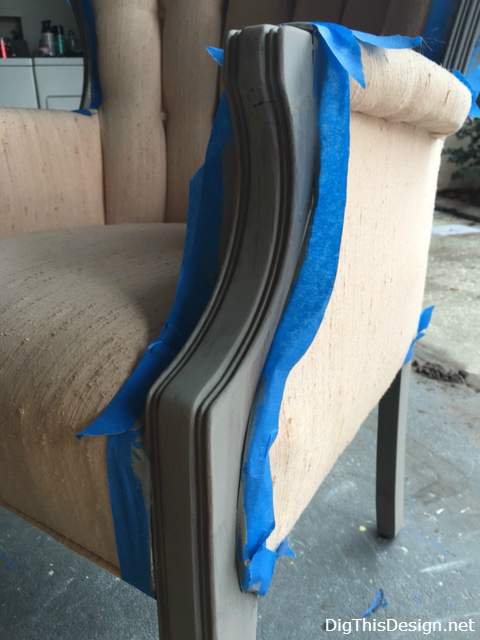
Step one in the refurbished chair project was taping off the legs so as not to cause additional work later by having to clean up the fabric from painting the wood. I chose to paint the legs with Annie Sloan Chalk paint in the color “French Linen”.

The fabric, as drab as it was, had a nice texture and was in good condition for my refurbished chair project, so I decided to change the color by making my chalk paint. My design intent with this refurbished chair was to create a dramatic pop of color, so I chose “Fiesta Pink” by Glidden.

How To Make Your Own Chalk Paint
- 1 part Plaster of Paris
- 3 parts Water
- Equal parts Paint
Add one part Plaster of Paris to three parts water. You want a consistency of yogurt. Add paint to the Plaster of Paris mixture, in equal parts and mix well. Take half of the paint you just mixed with Plaster of Paris and mix with equal parts water in a container. Remember to cover your paint mixture between uses to keep the paint from drying out and hardening.
Give the chair a good spray of water to make the fabric wet before painting. This will help the fibers accept the paint better. Apply a very thin coat of the DIY chalk paint mixture to the fabric. If you apply too much it will make the fabric scratchy and feel painted. You want the paint to be absorbed by the fabric not sit on top of it. Your refurbished chair needs to also feel comfortable.

First Coat – You can still see the original color of the fabric through the paint at this stage.

Second Coat – Pink is starting to become the dominant color.

Third Coat – Intended color.
After the paint is thoroughly dry (about 24 hours) wax the fabric with Annie Sloan Clear Wax. You should work in small sections at a time because you do not want to allow too much time between application and buffing off of the wax. I recommend applying with a wax brush and wiping off in a bugging motion with a soft cloth. Do not skip this step or the chair fabric will feel crunchy. The wax will soften up the fabric, giving the feel of a dyed fabric and not a painted fabric.
Originally I had painted the legs gray, but after posting it for sale, the buyer requested silver. The new silver was a bit harsh so I applied Ralph Lauren glaze in “Tobacco”. The glaze is sold clear, so you will need to have the paint department add the color tint you desire to it. To add the glaze, just wipe on and let sit for a few minutes, then wipe the excess off. What your refurbished clear start to come to life.

Here is the finished refurbished chair project!
Other posts you might enjoy:
Creative Upcycling; Reuse and Repurpose


