There are probably many clothes and fabrics lying in your closet that you don’t plan on wearing anytime soon. You might have an attachment with them or think that you will wear them again at some point. Why not repurpose these clothes and spruce them up? In fact, why not consider gluing glitter on fabric to jazz up your clothes? Of course, the sparkling bits revitalize the appeal of the material for a delightful surprise.
However, gluing glitter on fabrics is not only for your clothes. You can also adorn table runners and other forms of fabric with shimmering bits. If this interests you, we invite you to continue reading for some useful tips for gluing glitter on the fabric in your home.
What You Need To Know About Gluing Glitter

The different types of glue.
For any DIY projects, glue is essential. It is a holy grail for the majority of the creative folk. To secure glitter onto the fabric, you can choose from a wide range of glue options. The most used glue options for glitter adhesive purposes are fabric glue, glitter glue, and PVA glue.
1. Fabric glue.
There are essentially two types of fabric glue: temporary and permanent. You can decide on either one depending on the longevity you are aiming for. Use the permanent version if you want more durable sparkling embellishments.
If you are using fabric glue, coat it on the cloth uniformly with glitter and let it dry. Then, apply another even coating of the shimmer and let it fully dry again.
Once the double coating is done, apply a transparent coating over the sparkling layers to ensure that the bits stay in place. Ensure that the last clear coating has also dried properly before you move the cloth from the working space.
Alternatively, apply a little bit of glue to each glitter piece and press it onto the fabric to secure it. This process takes a lot of time and patience. It is a tedious process, but the results are usually outstanding.
Fabric glues are available in most stationery shops, and you can also find them online on sites like Amazon.
2. Glitter glue.
Believe it or not, glitter glue works better than fabric glue in some cases. Adhesives developed especially for glitter also work well on clothing materials. However, they are ineffective on silk material. They also secure the sparkles in place.
There are many brands of glitter glue. All glitter glues have different drying times. Read the instructions on the product packaging before use to know how long it will take to dry. Add an hour to the listed drying time just to be on the safe side.
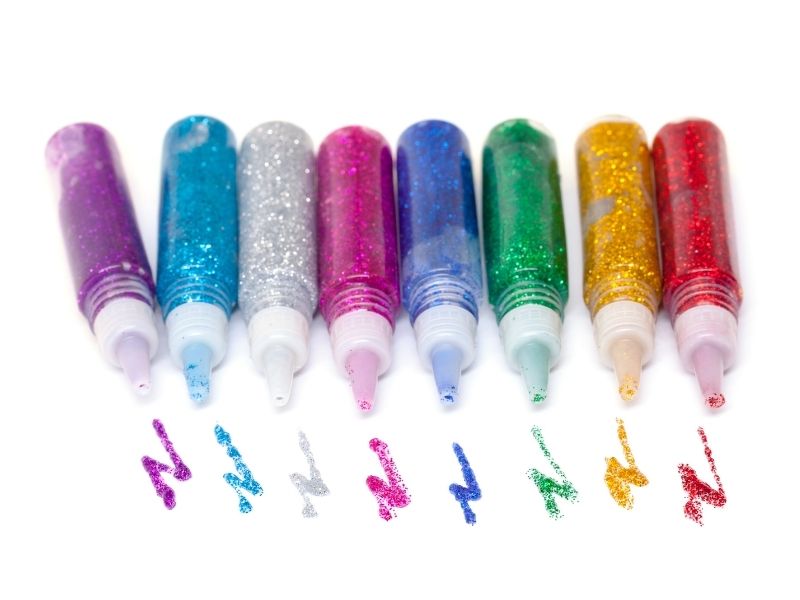
Glitter glues are available in various colors. They are also easy to apply with the nozzle as it also reduces the work of getting more glitter separately. They are also available in small, dried sticks. Simply insert one into the glue gun and apply it onto the material.
When using a glue gun and sticks, you need to work with more caution. Beware of the heated nozzle of the gun, avoid letting it touch your skin. Upon contact with the hot applicator, your skin will get burned, and it is a painful experience.
When buying the glitter glue sticks, ensure that they are non-toxic by assessing the package. Non-toxic versions always have it mentioned somewhere on their packaging. No one wants to get lightheaded by the toxic fumes and interrupt their project.
Spend a tad bit more by opting for the nontoxic glue sticks. Safety always comes first. Besides, it is more expensive to pay the hospital bills for any health issues caused by the toxic fumes.
3. PVA glue.
PVA glue is another commendable adhesive for glitter. One of its huge advantages is its transparent texture. Since they have a clear appearance, three is room for some errors. Your mistakes will not be noticeable once this glue has dried completely.
PVA glue also works on a diverse range of cloth materials without diminishing the quality of the fabric. Moreover, if you have leftover PVA, you do not have to worry about it.
This glue has several other purposes and can be handy in many situations in the future.
Factors to consider.
It is essential to start your project in a clear workspace. Ensure that your workstation is properly decluttered. Before applying the glitter onto the fabric, fasten the cloth on the working surface tightly with either tape or pins.
Tape is preferable as using it does not have the risk of tearing and ruining the fabric. Pins can tear the material, and you have to work with caution. If you fix your cloth onto the surface with pins, you need to apply the glitter gently and avoid pulling the fabric.
It is recommended to practice applying the glue or do a test run with it before working on your project. It is ideal to apply the adhesive with a steady hand. This requires patience and concentration.
If you are planning to apply the glue on large areas, it is best to use a detachable applicator tip. You can then put glue on a wide paintbrush and spread the adhesive on the material. This makes the process faster and saves effort. You can get glue on your brush by simply dipping it in the container after removing the tip.
To get rid of extra glue on the material, scrape it off with a plastic knife. The plastic will not cause any damage to the fabric. Decide on a pattern and then mark them with chalk or pencil on the fabric.
This will reduce the chances of creating a mess and will also save resources. Be patient and take your time in sticking the glitter onto the textile. This process, actually any DIY projects, should not be done in haste.
When applying glitter, you might get incredibly tempted to dump all the glitter out of the container. Do not overdo it, or you will have regrettable results. Only use the necessary amounts.
In conclusion.
Be it repurposing an old piece of fabric or glamming up your apparel, glitter application is a great way to add some pizzazz. It can also be used in DIY interior design modifications.
Take your time and ensure that you have a clean surface to work on. Take all the precautions you need and do not forget to read the instructions on the packaging. If you have any questions or suggestions, we always love to hear from you in the comments below. Also below are links to more creative articles about ALL things DESIGN for your home or business.
Images Courtesy of Canva.
Other Posts You Might Enjoy:
3 Must-Have Interior Fixtures For Your Home
How to Use Temporary Wallpaper for Your Craft Projects


