The “farmhouse” sink or what is also known as the “apron” sink has for a long time been in the market but has recently become a popular modern kitchen design. Its distinctive features allow the utility sink to stand out as a focal point in the kitchen design.
Tips for Installing a Farmhouse Sink
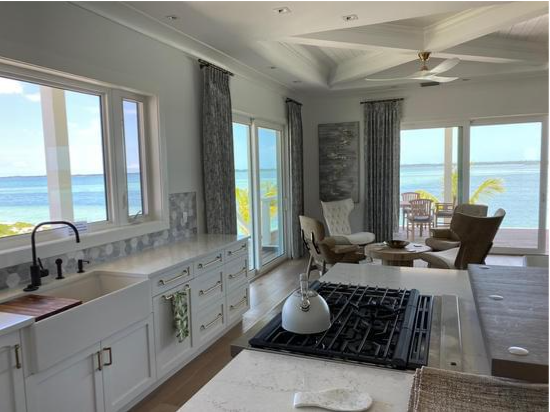
Design by Patricia Davis Brown Designs
The installation process of the farmhouse sink is quite a different project from the standard drop-in or under-mount sink installation. Unlike under-mount sinks, farmhouse sinks require independent support from the countertop. The sink rests on cleats or a self-standing platform. Therefore, to successfully install your farmhouse sink, you must first build a base structure to support it.
It will take several steps and procedures to build the base structure for your farmhouse, and luckily, we have provided guidelines for you to follow accordingly.
How To Build A Support Structure For A Farmhouse Sink
The best farmhouse kitchen sink has an extension of 1 inch beyond the front edge of the kitchen countertop. The reason is that the sink is heavy as it is made from enamel fireclay. Therefore, the base structure you want to build must be sturdy.
Also, you will need the following materials in place before you begin the project.
- Measuring tape
- Jig saw
- Power sander
- Pocket hole jig
- Impact drive
- Trim tools
- Clamps
- Utility screws
- Screw gun
- Drill with a hole saw
- Adhesive
Wood materials
- Inset panel ½ sand plywood
- 2 x 4 lumbers
- Back panel ¼ plywood
- Face frame and doors: 1×2 boards
- Side pieces and base: ¾ plywood
- Wood finish or varnish (for butcher block countertop)
- Toe kick base
Step 1: Measure the Farmhouse Sink
Before constructing the base cabinet, you must first measure the farmhouse sink. This step is very important and you must not skip it so you won’t end up having to make more adjustments to the kitchen countertop. Therefore, before you start this process, the farmhouse sink that will rest on the support platform must be available.
You must also know that apron sink front sides have variant designs, some are designed with round edges, some with a narrow bottom, and some with a wide top. What is important here is that their measurement varies based on their front side design, so you can get the accurate measurement online or in-store. The measurements in the manual are usually inaccurate because they are always rounded up. If you can’t get the measurement online, use a tape measure to measure the sides of the sink.
Make sure the measurements are done accurately, and never round the measurement down, because the sink may not fit in when you begin the installation.
To get the height measurement, measure the length of the sink from the top to the base. For the width measurement, you measure from one side of the sink to the other. Ensure you check the edges of the top width and the bottom width as they would help you know if it is shaped irregularly. You can measure the depth from the front side to the back. This measurement is only important for the cabinet depth however, it won’t change the appearance of the cabinet design.
Step 2: Build the Farmhouse Sink Base
The next step after making the measurements is to build the base cabinet for the farmhouse sink. Take 2×4 lumbers and cut them to the adequate length and width, and use the screws to hold them. At this stage, there should be a protective layer on the drywall (either wood or paint) to protect it from spills or splashes that can happen at any time.
Step 3: Offset the Base
Now that you have your base setup, cut ¾ and put it on the base, then screw it in.
Step 4: Build the Sink Support
This next step requires that you mark the spot for the sink platform, and also measure the u-shaped frame on the sidewall of the base cabinet. The measurement must be as accurate as possible in that the sink bottom will slightly graze the countertop bottom edge. You must also write down the support platform thickness when you are marking the frame cleat position on the cabinet sidewalls.
After doing that, it is time to build the u-shaped support frame for the farmhouse sink, build this frame by installing a piece of the 2×4 lumber vertically in all the corners. Each of these pieces will serve as legs for the sink and will support the weight. You must also know that it is the support frames that determine the sink height. Therefore, before building the sink support, do a height test. Rest the apron sink on top but you must not leave it there for a long period. You are only doing this to confirm if the height of the front support is correct. Adjust it if it is inaccurate. If the measurement is correct, move to the next step.
Step 5: Do the Trimming
In this next step, you are to trim the topmost part of the base cabinet using the 1×3 trimmer. Use the 1×2 trimmer to trim the sides and the 1×4 trimmer to trim the bottom. Ensure you level the trim pieces before fixing them so you don’t compromise the support structure’s sturdiness. Although uneven trims may not leave space in between the sink, it will cause difficulties when you want to attach the face frames or cabinet doors.
Step 6: Install the Sink Platform
The final step is to install the sink platform. Cut ¾ inch fiberboard to the support frame. There must be a demarcation of a few inches between the platform and the back of the cabinet so you can be able to run water from the supply tubes to your kitchen faucet. Use screws and adhesive to hold the platform to the support frame. You must also create a circular cutout in the platform below the sink drain opening and make sure the cutout is large enough for the drain pipe to pass through it.
Conclusion
We have detailed the basic steps on how you can build a support structure for your farmhouse sink. However, the parameters explained may vary as they are subject to the cabinet designs and the type of farmhouse sink. Perhaps ready-made farmhouse cabinets minimal effort than what was explained earlier.
It is always fun to work on a challenging project but if you find the process tough or it becomes more complicated, then you should hire a professional. Good luck!
Other posts you might enjoy:
A History Lesson on the Farmhouse Sink
4 Apron Front Sinks for Your Versatile and Stylish Kitchen
What is the Best Kitchen Sink Material
Check out These Amazing Types of Kitchen Sinks for your Next Remodel


