Building your own brick charcoal grill in the backyard or any outdoor area is a great project to undertake if you’ve got some free time on your hands! It is a great family activity as well, allowing the kids to take part in creating something from scratch. However, if you are in the mood for a grill but not up for building one, check out Limited-red reviews for some great grill recommendations!
To construct this, you need knowledge of basic brickwork and access to equipment. Otherwise, you can always ask a bricklayer to help you!
Does this sound interesting to you? If so, continue reading to learn all about how to build a DIY grill.
Instructions to Build Your Own DIY Grill for Family Fun
Material Requirements
To build your grill and barbeque pit, gather the following materials:
- Fiber-reinforced cement
- Shovel
- Trowel
- Spirit level
- Fire bricks
- Reinforcement bars (rebars)
- Grilling grate
- Drip pan
Specifications
This charcoal grill consists of two parts, an inner and outer part. The shape of the grill is a U-shape, and the inner part fits into the outer part.
Location
First, it’s wise to determine your future grill’s location. Please remember to stay away from any tree branches or other flammable areas. Remember that you only need an area of about 50 x 50 inches. Then, once you pick your spot, mark out the area for the foundation of your barbeque pit.
Next, begin shoveling out the dirt to a depth of at least six inches. Also make sure the ground is smooth and free from debris.
Steps For Building Your Grill
After marking and smoothing out your spot, the real work begins! Grab your tools and get ready to work.
⎆ The Foundation
Mix your cement according to the instructions and then pour it into your foundation. Make the backside of your foundation a little higher than the front to allow water to flow from the back to the front when not in use. Then, allow your foundation to dry overnight.
⎆ Brick Laying
Soak your bricks overnight as well. This helps it stick better to the concrete. After they soak, mark out a square at least two inches from the edge of your foundation.
Then, start laying your bricks starting from the back of the pit following the line. Add in the bricks from the back to the forward sides of the square, completing the U shape.
After your bricks are in line, remove them, and mix your concrete according to the instructions. Next, put down a layer of concrete with your trowel and start laying your bricks. Make sure to also put the concrete between all the spaces of the bricks as you are layering them. Then, continue to check and tap on your bricks to make sure they are level.
Next, use a spirit leveler or any straight object to make sure your bricks are even at all times. Also measure the level after putting down each layer of bricks.
Keep laying your bricks down following the U shape until it reaches a desirable height for you. After, scrape off any extra cement on the sides of the bricks and let the structure dry overnight.
⎆ Building The Hearth
The inner section acts as a hearth for your barbeque pit. Start by laying bricks from the inner wall of the outer section. Make sure to build this section according to the measurement of your grilling grate and drip pan.
This section must stick out at least 12.5 inches from the front of the outer section. Then start laying your bricks upwards to about 3/4th of the height of the outer section or any height that is comfortable for you.
⎆ Adding The Grill
Add in three lines of rebar into the wet concrete from back to front and make sure they are evenly spaced. You want to repeat this one more time to get two layers. The topmost layer holds your grilling surface, the second holds your drip pan. Finally, allow the structure to dry.
When it’s dry, add your grill to the top of the hearth and your drip pan to the second level.
When you make your DIY grill, it involves welding and metalwork. However, some grills and grates are ready-made. You can even get one made by a welder or metalworker according to your specific measurements.
Instead of rebars, you might also turn your bricks sideways while laying them at the height where you want your grill and drip pan. The sideways brick on the sides of your inner section will act as a holder for your grill and pan.
After this, continue to add in bricks to the bottom of the inner section until you reach a height that is suitable to let the charcoal burn and reach the grill. Don’t let it get too close or too far because your meat may end up too smokey or even undercooked!
DIY Grill for Summer Fun!
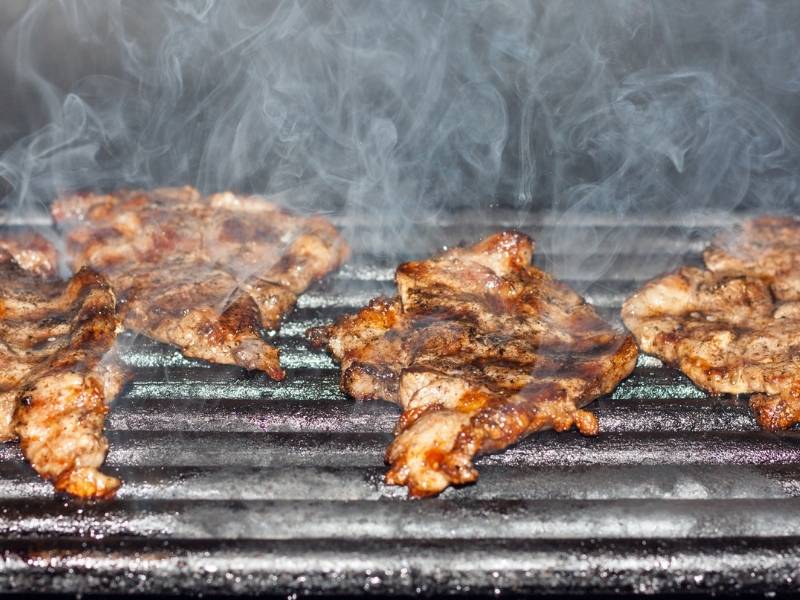
Grilling food over charcoal gives it a great smokey flavor, and nothing beats the feeling of cooking over an open fire! Rope your kids in to help out and make this into a fun summer activity. You will all then enjoy the results of your hard work while devouring the food at all your upcoming parties and get-togethers.
If you have any other great suggestions, please leave them in the comments below. You will also find several references to other interesting articles about all things design.
Images Courtesy of Canva.
Other Posts You Might Enjoy:
What Should I Look for When Buying a Smoker?
Summer Drink Recipes to Kick Off the Season


