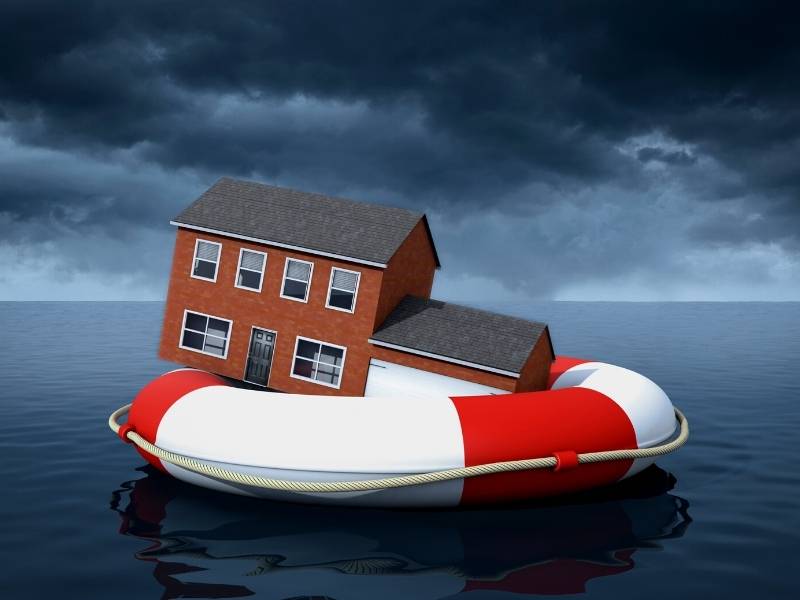
Are you experiencing any water damage situations? Wet products start to deteriorate within 24 hours. It is vital to take prompt action to reduce the damages. Also, consider your safety a priority. The causes include storms, flooding, overflowing toilets, burst pipes, and leaking roofs. The restoration process is complex and requires services from experts. However, in less complicated situations, you can DIY. Here are five essential steps to water damage restoration.
5 Steps to Water Damage Restoration

Step One. Identify the source of water damage.
The first measure during restoration is to identify the cause of the tragedy. You can fix the problem and simultaneously prevent further damage when you understand where the problem began. For instance, if the cause of damage was bursting pipes, shut off the valves. Similarly, include the services of an expert in case of leaking pipes. Also, familiarize yourself with the health effects brought by each level of contamination to update the emergency personnel.
Step Two. Take immediate action.
Taking prompt action will help mitigate the risk and minimizes further loss. Homeowners should familiarize themselves with access to water and electricity shutoffs in their homes. Electricity causes much danger when not handled appropriately and at the right time. It is crucial to automatically turn off the electricity box, meter panel, and circuit box. Remove the wires and cables exposed to water. For more complicated situations, such as plumbing fixtures, work with a licensed, competent, and reliable expert who responds faster in an emergency. Relocate valuables items like electronics, files, or documents to a safer place.
Step Three. Remove the water.
When water takes long in the compound, it can result in complex damages. Moisture will get through the porous material leading to the growth of molds. To minimize the stagnant water and get rid of mud, you can use a submersible pump, wet and dry vacuum, or buckets. However, it is crucial to put on gloves, shoes, and protective clothes to avoid contamination. Also, get rid of porous materials such as insulation or carpets.
Step Four. Dry out the area.
After getting rid of the standing water, it’s time to dry out the affected places. Getting rid of residual moisture is crucial during the restoration process. Besides causing damages, it is health hazardous. You can use towels, mops, dehumidifiers, air conditioning, and desiccants to dry the area. Desiccants help in absorbing excess moisture while dehumidifier gets rid of the humidity.
Step Five. Repair and replacement.
Water can cause damage to the interior and exterior of your home. After cleaning and drying the affected location, it is time for repair and replacement to prevent further destruction. For instance, remove and replace the carpets or flooring to prevent molds from growing. Simultaneously, repaint the damaged walls, or fix the burst pipes. Use the water-resistant material available in the market during restoration.
Water causes a lot of damages to various properties. However, restoring your home to its initial state is vital regardless of its complexity. The process requires a clear plan. Work with water damage restoration experts who will help you restore your home to its initial condition.
When water damage happens to a ceiling it can be costly as water will run down creating more damage. You will want to call a plumber first thing to avoid further damage to other areas. A plumbing professional can estimate the ceiling water damage repair costs.
In conclusion.
If you have any suggestions or questions, please let us know in the comments below. Also below, look through the suggestions below for more fantastic posts about ALL things DESIGN for your home or business.
Images Courtesy of Canva.
Other Posts You Might Enjoy:
5 Telltale Signs You Have a Water Leak in Your House


