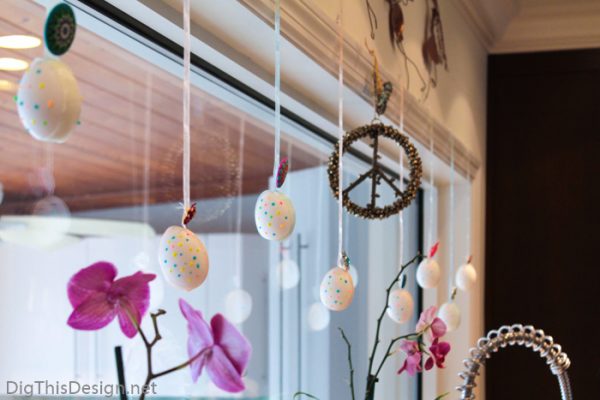
Easter is right around the corner and I love to decorate my large kitchen window with holiday décor. My window is a focal point in my house, it brings the outside in. I love seeing my pool and landscaping when I look out my window and spring is the perfect time of year, offering loads of color. This year I decided to do some egg-art for my Easter decorating that would accentuate the colors of spring and create an Easter vibe.
How To Blow Out Eggs for Decorating
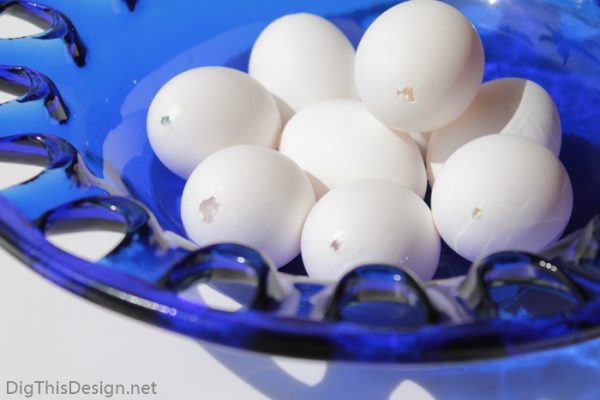
The great thing about blown out eggs is that you can preserve them to re-use the following year. Even just putting them in a glass bowl will add color and give an Easter feel for the holiday. Re-purposing them as a different display will give a fresh new look next year.
What you will need:
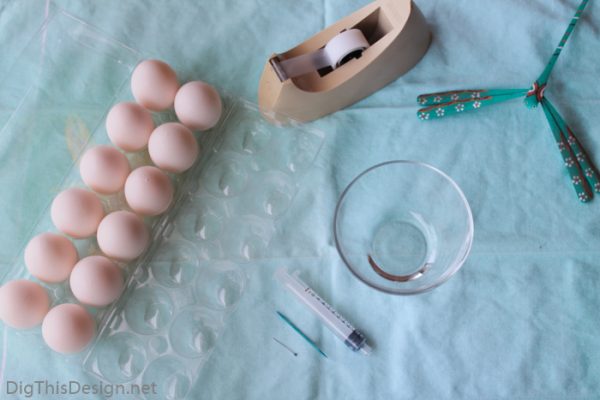
- Dozen eggs
- Tape
- Pin
- Toothpick
- Plastic syringe
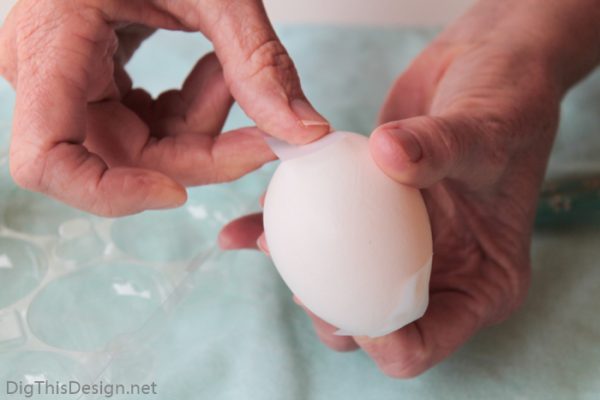
STEP ONE
Start by placing tape at each end of the egg to avoid splintering the shell.
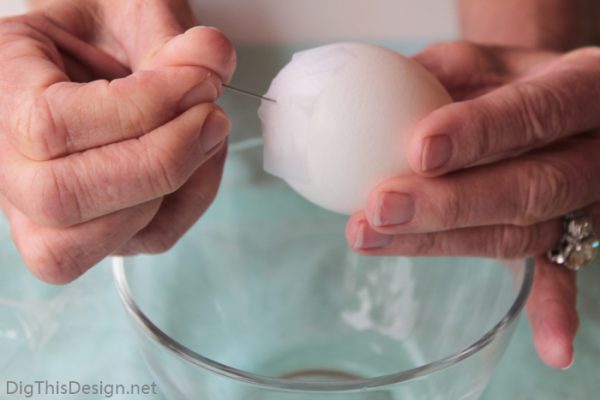
STEP TWO
Hold an egg firmly in your hand and pierce the small end first with the pin and then follow with the other end.
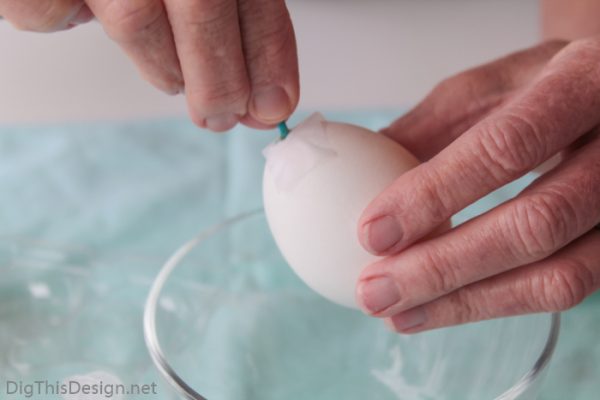
STEP THREE
The holes will need to be expanded. Insert the toothpick into one of the holes and slowly rotate to enlarge, repeat at the other end. The top hole will need to be big enough for the syringe head to fit into and the bottom hole slightly bigger. Before moving onto step four, you will want to insert your tooth pic into the egg and stir it around to break up the yolk.
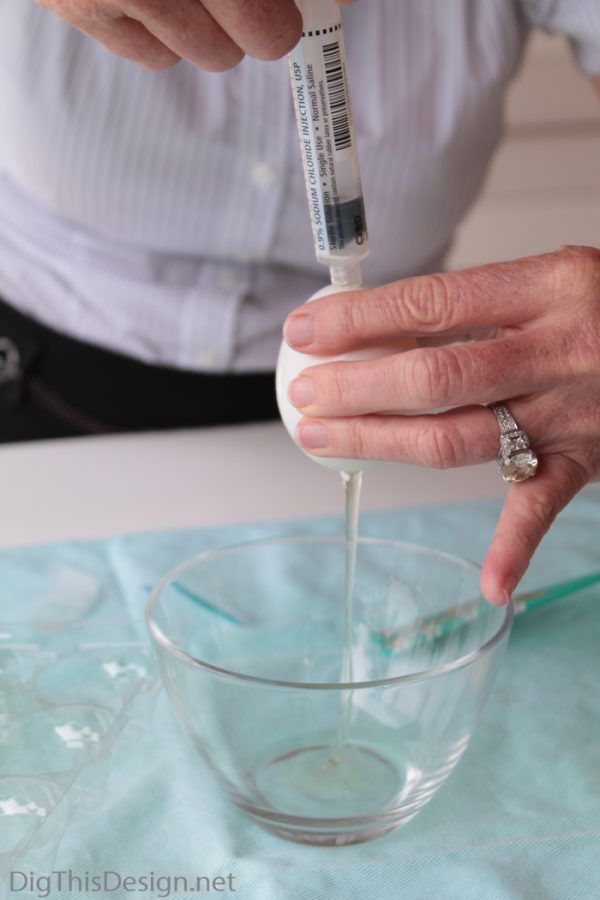
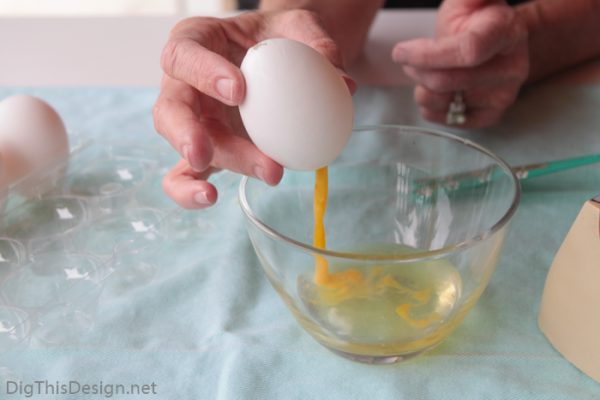
STEP FOUR
Pull the plunger out from the syringe and insert the nose of the syringe into the egg. Hold over a bowl and push down to displace contents from the egg. You will need to repeat this step until you get nothing more out of the egg. If pumping air with the syringe starts to become difficult, gently tap your hand while holding the egg on the edge of a bowl to release the last bits of yolk.
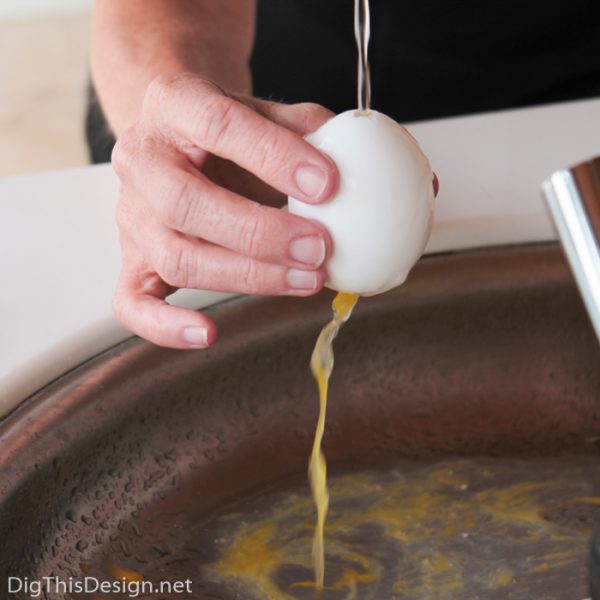
STEP FIVE
Now you will need to hold the egg over the sink and set the water flow to a low flow to not damage the egg. Fill the egg with water and give a light shake. Use the syringe to empty out the water and then repeat.
STEP SIX
Give the eggs time to dry. Some even suggest baking at 300ºF for 10 minutes. It is a good idea to shake out as much water as you can and then let them completely dry before decorating.
Ready to Decorate Easter Eggs
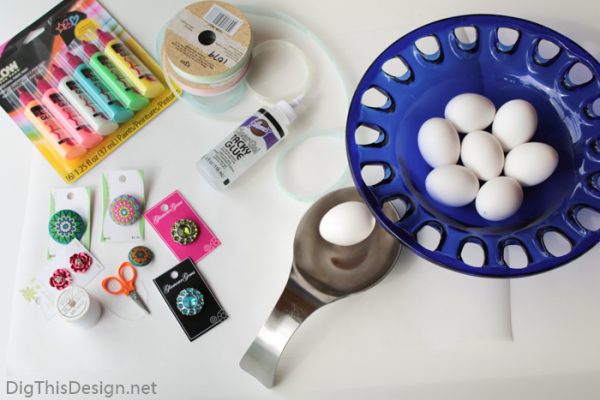
What you will need:
- Decorative Buttons
- Puff Paint
- Super Glue (We realized that supper glue was needed or you would need to wait for the glue to dry)
- Thread and Needle
- Ribbon
- Scissors
- Blown out Egg Shells
- Thumb Tacks
The ribbon colors I chose were pastels which felt like Easter to me. They were sheer and translucent and didn’t interfere with my outside view.
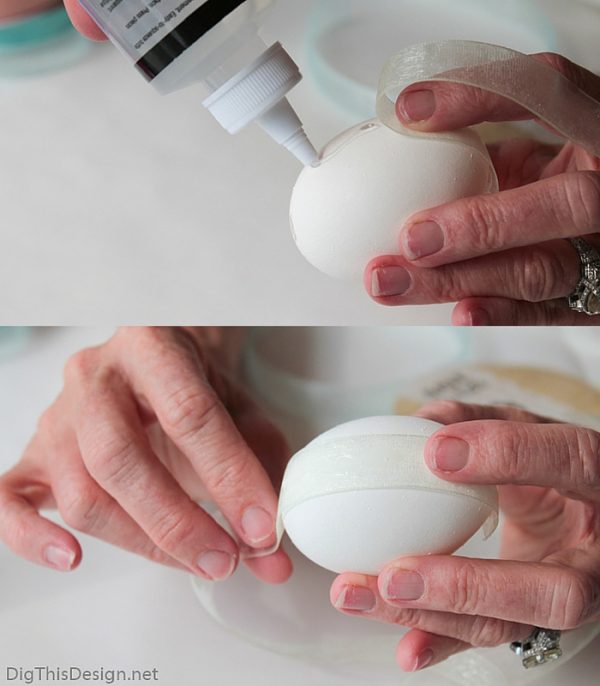
STEP ONE
The length of the ribbon will be determined by how much you would like the egg to hang in the window. Because my window is so long, I wanted to create a focal point with my peace ornament in the middle and stagger my eggs out from the center point.
Apply glue to the egg and begin to attach ribbon to run lengthwise around the egg. This covers the holes top and bottom and allows the egg to hang upright in the window.
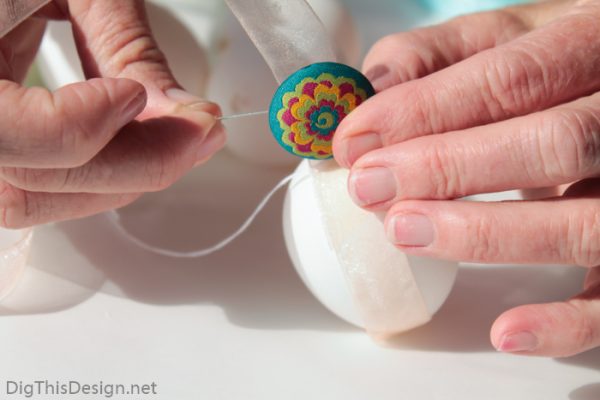
STEP TWO
Have fun when selecting the buttons you will use. The ones that I selected were colorful and had a bit of retro style to them. I think the buttons are the bling to the design and should show your personality! You want to sew them to the ribbon about 1/4″ above the top of the egg. You can add as many buttons as you would like, but as I was saying, I wanted a more translucent ribbon in front of my window, putting the focus on the egg itself.
STEP THREE
I used a thumb tack to attach the end of the ribbon to the top of the window casing, allowing the egg to hand at the height I wanted. Once my egg was hung, I found it easier to apply my puff painted dots.
Feel free to personalize your egg-art. My choice was to keep the organic color of the white egg and apply different color dots of paint. I loved the effect of the decorative button and the painted dots complimenting each other.


Other posts you might enjoy reading:


